Items with Photos Sell 30% More — Here's Why
This isn't opinion. Multiple studies across food delivery platforms and digital menu providers consistently show the same thing: menu items with photos outsell items without photos by 25-35%. Some categories, especially desserts and appetizers, see even higher lifts.
The reason is straightforward. Food is one of the most visual purchases people make. When someone reads "Grilled Chicken Tikka" on a menu, they form a vague mental image. When they see a photo of charred, juicy chicken pieces on a sizzling plate with a side of mint chutney, their brain triggers a craving response. Text describes. Photos sell.
This is why fast food chains spend millions on food photography. But here's the thing — you don't need to spend millions. You don't even need to hire a photographer.
You Don't Need a Professional Photographer
The phone in your pocket is more than enough. Modern smartphone cameras — whether iPhone or Android — shoot at resolutions and quality levels that were professional-grade just a few years ago. Portrait mode, HDR, and computational photography handle most of the heavy lifting.
What matters far more than equipment is technique. A poorly lit photo from a $5,000 camera looks worse than a well-lit photo from a phone. Focus on these fundamentals and your menu photos will look great.
Lighting: The Single Most Important Factor
Bad lighting ruins food photos faster than anything else. Get this right and you're 80% of the way there.
Use Natural Light
Position the dish near a window. Natural daylight is soft, even, and makes food look appetizing. The best time is mid-morning or early afternoon when light is bright but not harsh.
Place the dish so the light comes from the side or slightly behind (at a 10 o'clock or 2 o'clock position relative to the camera). Side lighting creates gentle shadows that give depth and dimension to the food. Front lighting makes everything look flat.
Avoid Flash — Always
The built-in flash on your phone is the fastest way to make food look terrible. It creates harsh, flat light with ugly reflections on sauces and glazes. It washes out colors and makes everything look like a mugshot. Turn it off and never turn it back on.
When Natural Light Isn't Available
If you're shooting in the evening or in a windowless kitchen, use a continuous LED light panel. You can get a decent one for under $30. Position it to the side of the dish, just like you would with a window. Avoid overhead fluorescent lighting — it casts green tones that make food look unappetizing.
A simple white tablecloth or a sheet of white paper on the opposite side of the light source acts as a bounce reflector, filling in shadows without adding a second light.
Angles: Match the Angle to the Dish
There is no single best angle. The right angle depends on what you're photographing.
45-Degree Angle (Most Versatile)
This is the angle most people naturally eat from, which makes it feel familiar and appetizing. It works for the majority of dishes — curries, pasta, rice plates, grilled items, salads. When in doubt, shoot at 45 degrees.
Flat-Lay / Overhead (90 Degrees)
Shoot straight down for dishes that are best seen from above. This works for pizza, bowls (poke bowls, ramen), platters, thalis, and any dish where the arrangement and variety of ingredients is the main visual appeal.
Straight-On (0 Degrees)
Shoot at eye level for tall, stacked dishes. Burgers, sandwiches, layered desserts, tall drinks, and milkshakes all look best when you can see the layers. This angle emphasizes height and makes portions look generous.
Styling: Small Details Make a Big Difference
You don't need a professional food stylist. But a few minutes of preparation before you shoot makes photos dramatically better.
Clean the Plate
Wipe any drips, smudges, or sauce splatters from the rim of the plate before shooting. This takes five seconds and is the most common thing people skip. A clean plate edge instantly makes a photo look more professional.
Use Fresh Garnishes
Add a sprig of fresh herbs, a wedge of lemon, or a light dusting of spice right before shooting. Garnishes add color contrast and freshness. Wilted or browned garnishes do the opposite — skip them if they're not fresh.
Capture Action and Freshness
A photo of steam rising from a hot dish, cheese pulling from a slice, or sauce being drizzled creates a sense of immediacy. The viewer feels like the food was just prepared. If the dish steams, shoot it immediately. For cheese pulls and sauce drizzles, have someone assist while you shoot.
Keep Props Minimal
One or two supporting elements — a fork, a napkin, a small bowl of sauce — can add context. But resist the urge to fill the frame with cutting boards, flowers, and random ingredients. The food is the subject. Everything else is a distraction.
Background: Clean, Simple, Consistent
The background sets the tone. A cluttered, busy background pulls attention away from the food.
Use a clean surface — a wooden table, a marble countertop, a plain dark surface, or even a large cutting board. Avoid patterned tablecloths, busy tile, or branded placemats that compete with the dish.
Whatever surface you choose, use the same one for all your menu photos. Consistency across the menu makes it look professional and cohesive, even if each photo was taken on different days.
Consistency Matters More Than Perfection
A menu where every photo has the same lighting style, similar backgrounds, and matching angles looks polished. A menu where some photos are bright and airy, some are dark and moody, and some are clearly stock photos looks amateur and inconsistent.
Pick a style and stick with it. Consistent average photos beat a mix of great and terrible photos every time. Customers notice inconsistency, and it erodes trust.
Which Items to Photograph First
You probably can't photograph your entire menu in one day. Prioritize strategically.
High-Margin Items
These are the dishes where more orders directly mean more profit. If your Paneer Tikka has a 70% margin and your Dal Fry has a 30% margin, photograph the Paneer Tikka first. Photos drive orders, so point that power at your most profitable items.
Signature Dishes
Your bestsellers and house specialties should have photos. These are the dishes people come to you for, and photos reinforce that they made the right choice coming here.
Items That Look Better Than They Sound
Some dishes have uninspiring names but look incredible on the plate. A "Mixed Vegetable Gratin" sounds boring. A photo of it — golden, bubbling, with layers of vegetables visible through melted cheese — sells itself. Find these hidden gems in your menu.
New Additions
When you add a new item, it has no reputation yet. A photo gives customers the confidence to try something unfamiliar. This is especially important for seasonal specials or chef's recommendations.
Common Mistakes to Avoid
Dark or Blurry Photos
If the photo is underexposed or out of focus, it's worse than having no photo at all. A blurry food photo subconsciously signals "low quality." Delete it and reshoot.
Using Stock Photos
Customers can tell. They've seen the same generic pasta photo on five different restaurant websites. Stock photos create a disconnect when the actual dish arrives looking different. Use real photos of your real food, even if they're not perfect.
Inconsistent Styles
Mixing photos taken by different people, at different times, with different phones, in different lighting creates visual chaos. If you can't reshoot everything at once, at least establish guidelines — same background, same angle, same general brightness.
Too Many Props and Clutter
The dish gets lost in a sea of scattered ingredients, utensils, and decorations. Keep the frame focused. If you remove a prop and the photo looks better, it shouldn't have been there.
Quick Editing: Polish Without Overdoing It
Don't publish photos straight from the camera. A few basic adjustments make a significant difference.
What to Adjust
- Brightness: Increase slightly if the photo is a bit dark. Food generally looks better brighter.
- Contrast: A small boost makes colors pop and gives the photo more depth.
- Warmth: Shift slightly warmer. Warm tones make food look more appetizing. Cool tones make it look clinical.
- Saturation: A tiny bump can help, but don't overdo it. Over-saturated food looks artificial and misleading.
- Sharpness: A subtle increase helps, especially for phone photos.
Free Editing Tools
- Snapseed (iOS/Android) — Google's free editor. Excellent for quick adjustments. The "Tune Image" tool handles brightness, contrast, and warmth in one screen.
- Lightroom Mobile (iOS/Android) — Adobe's free tier covers all the basics. Great presets you can apply consistently across all photos.
- Google Photos built-in editor — Good enough for basic brightness and contrast tweaks.
Pick one tool and learn its basic adjustments. Editing should take 30-60 seconds per photo, not 10 minutes.
Digital Menus Make Photos Practical
With printed menus, adding photos means redesigning layouts, increasing page counts, and paying for color printing. Most restaurants skip photos entirely because the cost doesn't justify it.
Digital menus eliminate this barrier. Adding a photo to a menu item is as simple as uploading an image. No reprint cost, no layout redesign, no minimum order quantities from the printer. You can add photos incrementally — five this week, five next week — without any extra expense.
This is one of the biggest practical advantages of switching to a digital menu. The 30% order increase from photos becomes accessible to every restaurant, not just the ones with design budgets.
Your Action Plan for This Week
Don't try to photograph everything at once. Start small and build momentum.
- Pick your top 5 items per category — highest margin and bestsellers first
- Find your light source — identify the best window in your restaurant or kitchen
- Choose your background — one clean surface you'll use for all shots
- Shoot during prep — photograph dishes right as they come out, when they look freshest
- Edit in batch — apply the same adjustments to all photos for consistency
- Upload to your digital menu — get them live and track the impact on orders
Five items per category, four categories, that's 20 photos. At 5 minutes per dish including editing, you're looking at under two hours of work for a measurable increase in orders. That's one of the highest-ROI activities you can do for your restaurant this week.
The restaurants that consistently outperform on digital platforms all have one thing in common: they treat menu photos as a revenue driver, not an afterthought. Start this week and you'll see the difference in your order numbers within days.
Related Articles
QR Code Menu for Restaurants & Hotels: Why Static PDFs Are Dead
Static PDF menus are outdated. Learn why smart QR code menus with real-time updates and AI are the future of dining.
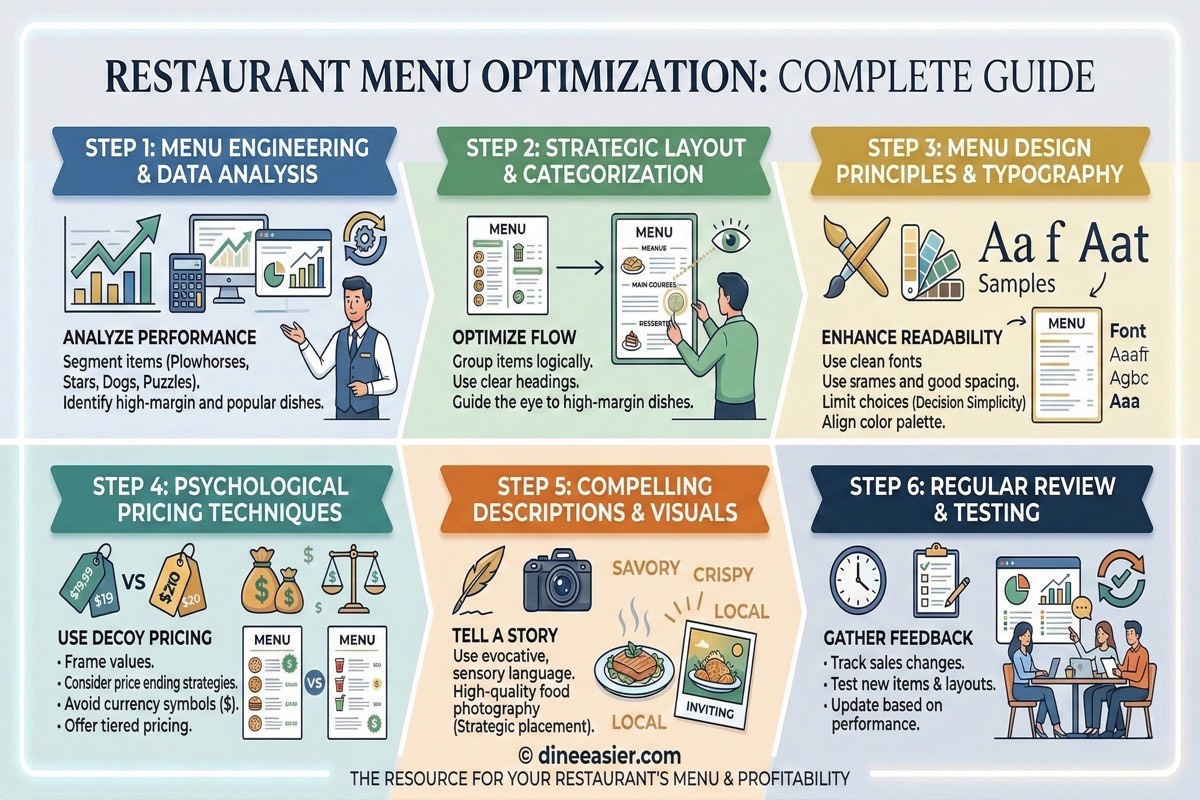
How AI Menu Recommendations Increase Average Order Value
AI restaurant menu recommendations consistently boost average order value by 10-20%. Learn how conversational upselling outperforms static menus and human servers.
Why Dietary Tags on Your Menu Increase Restaurant Orders
Customers skip menu items they are unsure about. Dietary labels like veg, Jain, vegan, and allergen tags remove doubt, unlock group dining, and directly increase orders per table.